
Sending Faxes via Email: A Step-by-Step Guide
This article provides a clear and concise walkthrough for supporting customers who wish to send faxes through VoiplyFax using their email account.
Step-by-Step Instructions
- Open a New Email Message
Start by opening a new email in your preferred email application (e.g., Gmail, Outlook).
- Enter the Recipient Address
In the “To” field, enter the full 11-digit fax number (no dashes), followed by @voiplyfax.com.
Ensure the number includes the country code (1 for the U.S.).
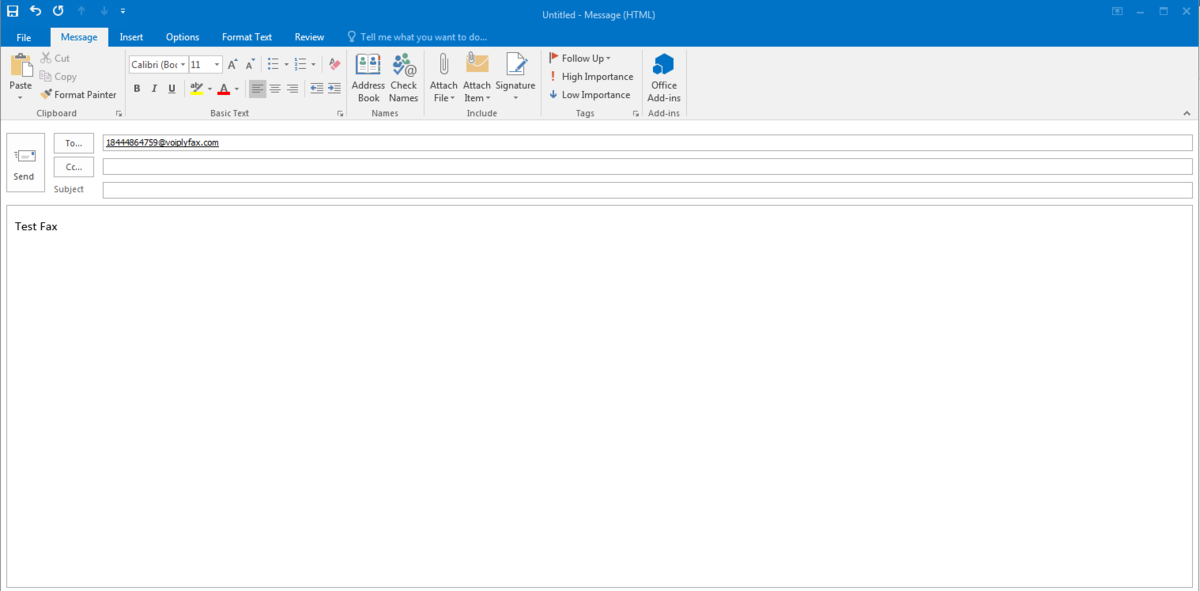
- Attach Your Document
Attach the file you want to fax. Accepted formats typically include PDF, DOC, DOCX, TXT, and image files (PNG, JPG).
- Optional: Enter a message in the email body to convert it into a cover letter.
- If no file is attached, the content in the subject/body of the email will be sent as the fax itself.
- Send the Email
Once you're ready, press Send.
🔔 What Happens Next?
- You will receive a “Queued Successfully” email confirmation when the fax enters the system.
- A second email will notify you once the fax has been successfully delivered.
🛑 Important Notes
✅ Only registered email addresses in our system can send faxes.
- If you would like to send using other accounts, you would have to sign them up for free (limited) sending accounts at voiplyfax.com)
📥 If confirmations are not received:
- Check the Junk/Spam folder.
- Whitelist
voiplyfax.comin your email client or spam filter to ensure proper delivery.
📌 Support Tips
- Always confirm the full 11-digit format is being used.
- Remind users to attach files in supported formats and ensure their spam settings aren't filtering system notifications.
Did this answer your question?
Glad it helped.