
Residential - How to Set Up and Manage Voicemail
You can update your voicemail greeting and settings directly from your Residential Portal. This guide walks you through how to change your greeting, choose how many rings before voicemail, and preview your recording before saving.
On this page
Step 1: Log In to Your Residential Portal
- Visit https://voiply.com/ (opens in a new tab) then click Login.
- Enter your number.
- Sign in using your email and password.
You will land on your Dashboard.
Step 2: Open Your Voicemail Settings
Scroll down to Quick Actions.
Select Voicemail.
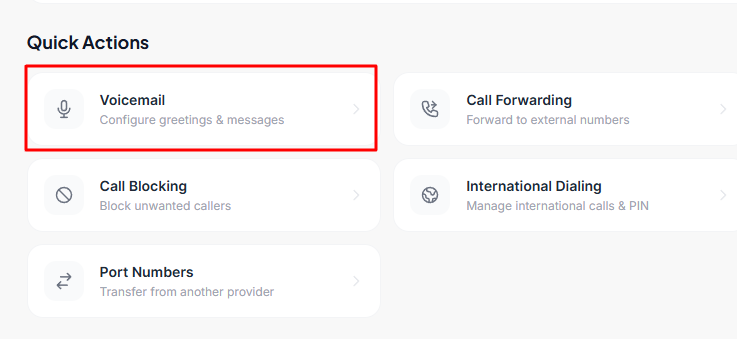
This will open the Manage Voicemail menu. 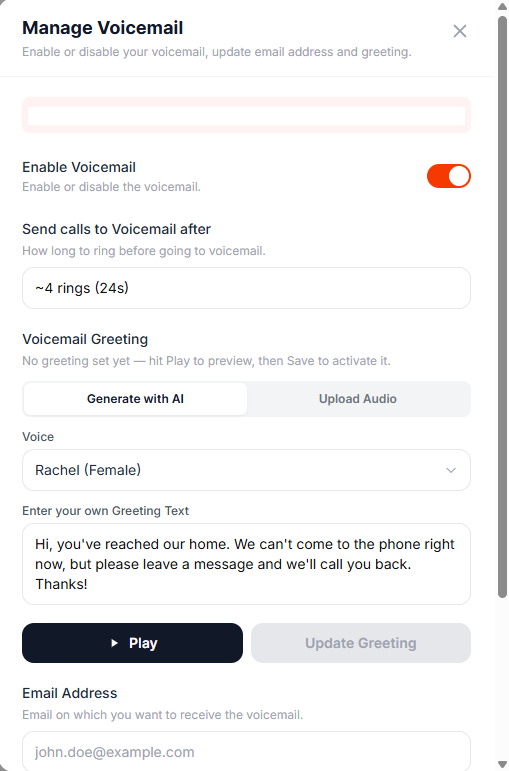
Step 3: Adjust Your Voicemail Settings
Inside Manage Voicemail, you can:
Enable or Disable Voicemail
Use the toggle at the top.
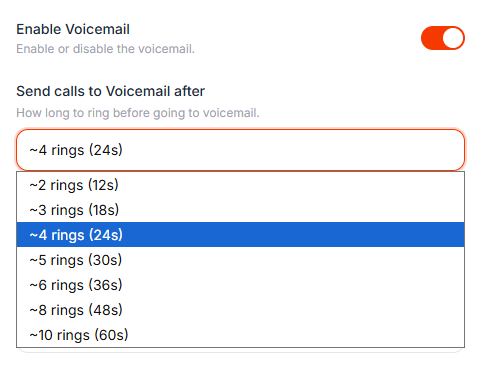
Choose the Number of Rings
Open the dropdown next to Send calls to Voicemail after and choose between 2 to 10 rings.
Step 4: Update Your Voicemail Greeting
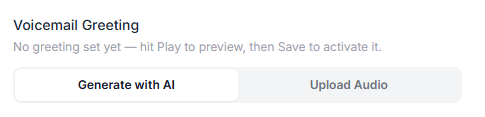
In the Voicemail Greeting Message section, choose how you want to record your greeting:
Option 1: Text to Speech
Select Generate with AI.
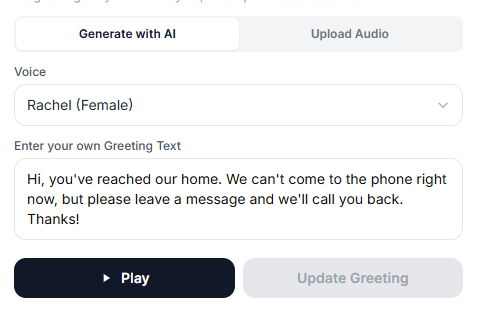
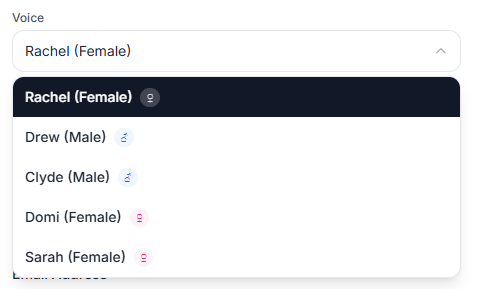
Choose a voice from the dropdown.
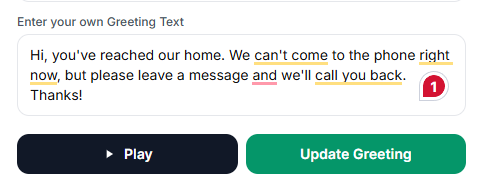
Type your message.
Click Update Greeting to create the recording.
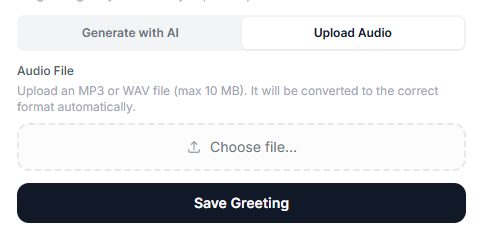
Option 2: Upload a Recording
- Select Upload Audio.
- Upload a .wav or .mp3 file from your device.
- Click Save Greeting.
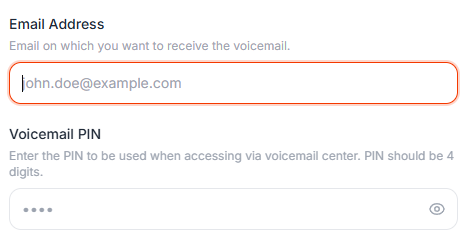
Step 5: Review Your Email Address and Voicemail PIN
Email Address — Confirm the email on which you want to receive voicemails.
Voicemail PIN — Enter the PIN to be used when accessing via voicemail center. PIN should be 4 digits.
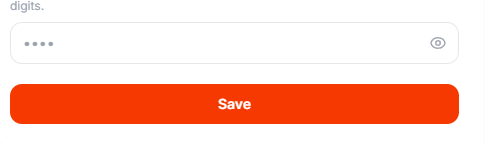
Step 6: Save Your Voicemail Settings
Did this answer your question?
Glad it helped.